A Comprehensive Guide to Installing Picatinny Rails on Various Firearms
Introduction
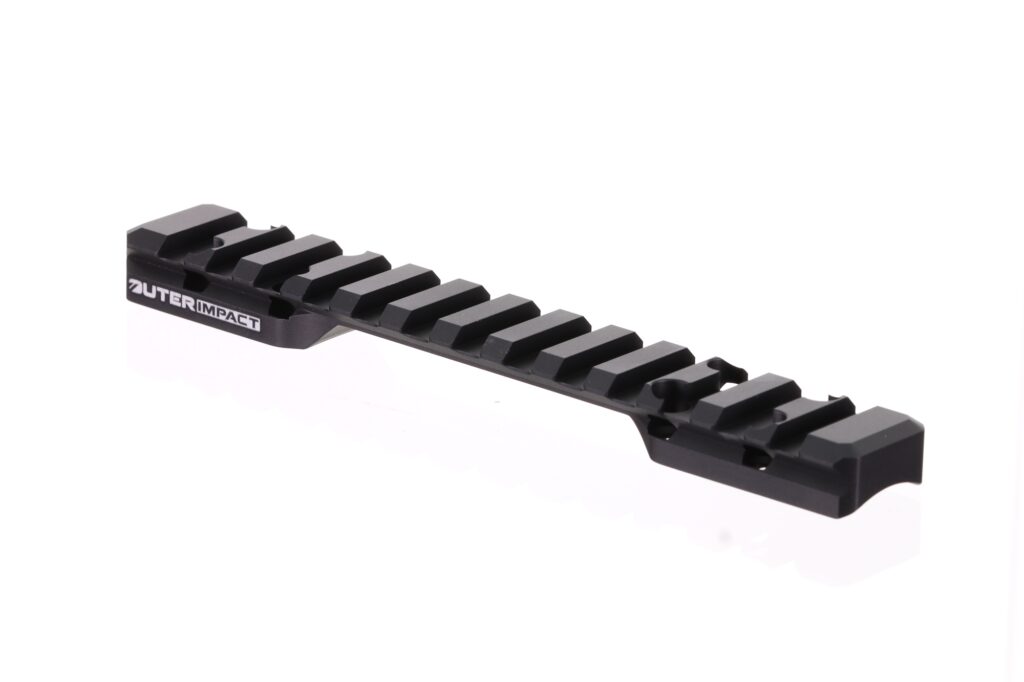
Picatinny rails have revolutionized the world of firearms customization. These versatile rails allow you to attach a wide range of accessories, from scopes and red dot sights to flashlights and foregrips, making your firearm more adaptable to different shooting scenarios. In this comprehensive guide, we will walk you through the process of installing Picatinny rails on various types of firearms, ensuring you have the knowledge and confidence to take your shooting game to the next level. All OuterImpact Picatinny Rails are precision machined from billet aluminum and must meet our strict quality control specifications.
1.0 Before you begin, gather the following tools and materials:
- OuterImpact Picatinny rail of appropriate length
- Allen/Torx wrenches or screwdrivers (size may vary)
- Threadlocker
- Firearm-specific installation instructions (if available)
- Eye protection
- A clean workspace
2.0 Installing Picatinny Rails on a Rifle
Whether you have a bolt-action or an AR-15 style rifle, adding Picatinny rails can greatly enhance your firearm’s versatility.
2.1. Bolt-Action Rifle
- Clear the firearm to ensure it is unloaded.
- Follow the manufacturer’s instructions for disassembling the rifle, if necessary.
- Identify the desired location for the Picatinny rail, usually on the top of the receiver.
- Align the rail with the provided screw holes and secure it in place using the appropriate screws or bolts.
- Tighten the screws evenly, ensuring a snug fit. Use threadlocker if desired.
- Reassemble the rifle according to the manufacturer’s instructions.
- Perform a function test to ensure everything is in working order.
2.2. AR-15 Style Rifle
- Clear the firearm to ensure it’s unloaded.
- Remove the upper receiver if necessary, following the manufacturer’s instructions.
- Attach the Picatinny rail to the top of the receiver by aligning it with the provided screw holes.
- Insert the screws or bolts and tighten them evenly.
- Reassemble the upper and lower receivers according to the manufacturer’s instructions.
- Perform a function test to ensure the rifle operates correctly.
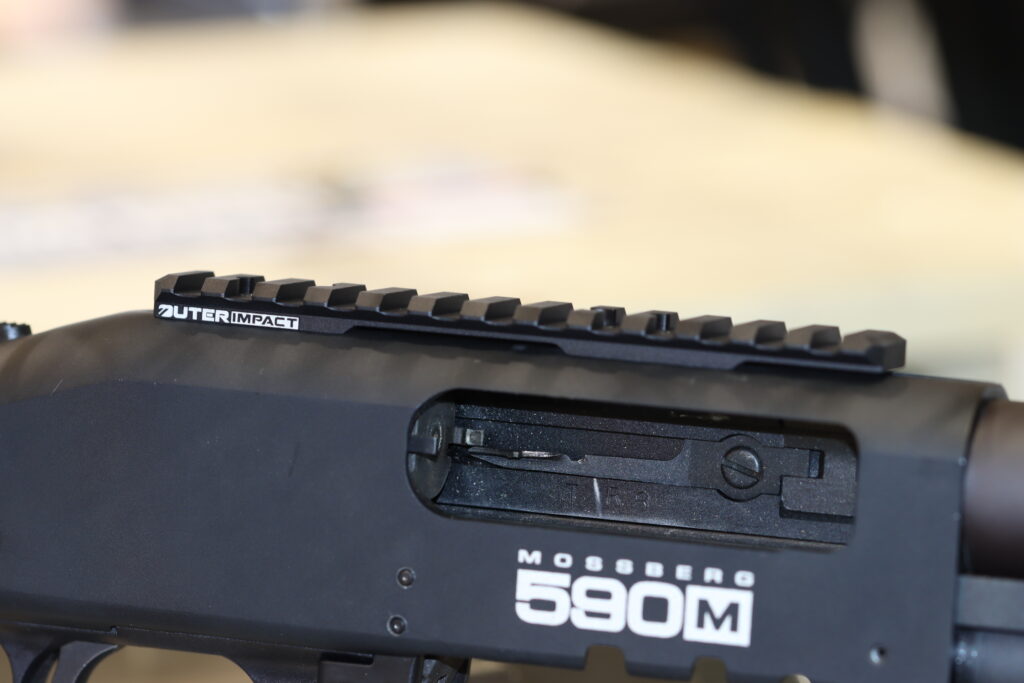
3.0 Installing Picatinny Rails on a Shotgun
Shotgun owners can also benefit from the versatility of Picatinny rails.
- Clear the firearm to ensure it’s unloaded.
- Identify the location where you want to install the rail, usually on the shotgun’s fore end or receiver.
- Align the rail with the screw holes and attach it securely using the provided screws or bolts.
- Tighten the screws evenly, making sure the rail is stable.
- Ensure your shotgun functions correctly after installation.
4.0 Installing Picatinny Rails on a Handgun
While less common, some handguns can also be equipped with Picatinny rails.
- Clear the firearm to ensure it’s unloaded.
- Identify the location for the rail attachment, typically on the handgun’s frame or accessory rail slot.
- Align the Picatinny rail with the provided screw holes and secure it using the appropriate screws or bolts.
- Tighten the screws evenly and check for stability.
- Ensure your handgun functions properly after installation.
5.0 Tips and Safety Precautions
- Always follow the firearm manufacturer’s instructions and safety guidelines.
- Use the correct tools and materials for installation.
- Check the tightness of screws periodically, as they may loosen with use.
- If unsure about the installation process, consult a professional gunsmith.
- Always wear eye protection when working on firearms.
- Conclusion
Installing Picatinny rails on your firearms can significantly enhance their functionality and versatility. Whether you own a rifle, shotgun, or handgun, following our step-by-step guide and adhering to safety precautions will help you customize your firearm with confidence. With your new OuterImpact Picatinny rail in place, you can easily attach accessories to improve your shooting experience and accuracy.