Co-Witnessing Heights: Helpful Variations For Red Dot Mounts And Sights
Introduction: Understanding Co-Witnessing Heights
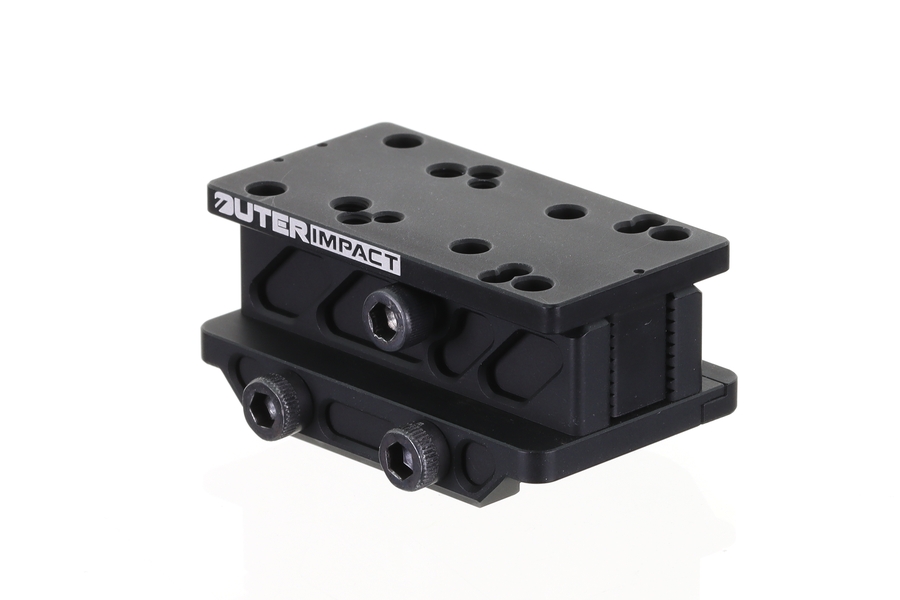
The alignment between red dot sights and iron sights, known as co-witnessing, varies based on heights. Let’s explore the different co-witnessing heights in red dot mounts and sights, emphasizing the versatility of the OuterImpact adjustable co-witnessing red dot mount. The OuterImpact Adjustable Mount offers 5 different levels of co-witness, allowing you to determine the best choice. All OuterImpact mounts are precision machined from aircraft grade 7075 aluminum and backed by a Lifetime Warranty.
1. Absolute Co-Witness
Overview: A scenario where the red dot sight’s dot aligns perfectly with the iron sights.
Height: The red dot aligns precisely with the iron sight’s aiming point.
Pros: Provides a seamless transition between the red dot and iron sights.
Cons: Limited adjustments may not accommodate all red dot sizes.
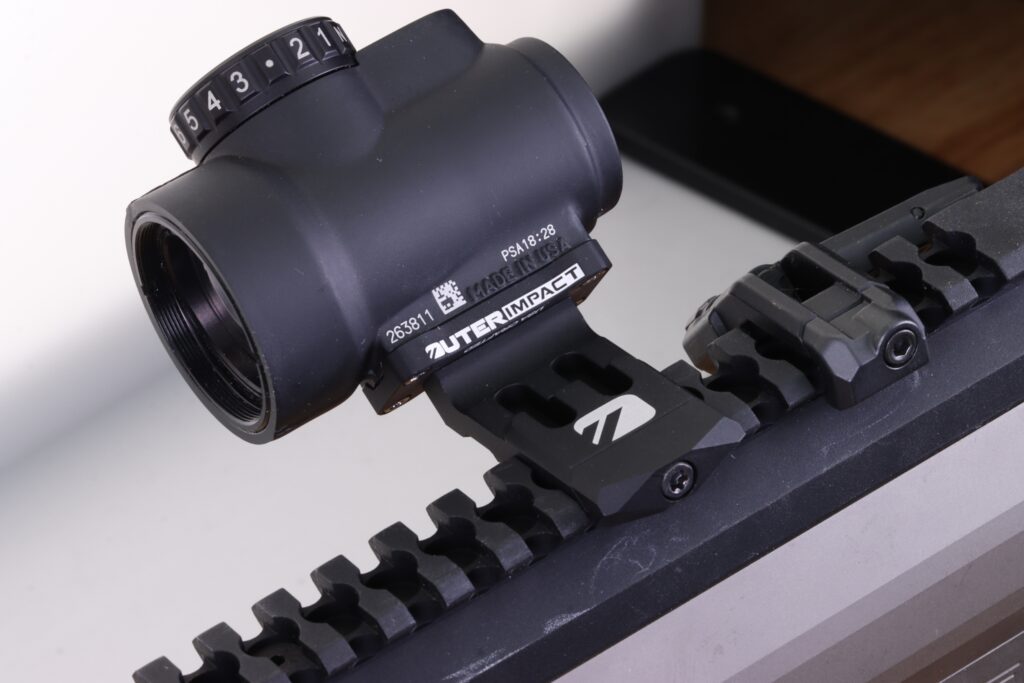
2. Lower 1/3 Co-Witness
Overview: The red dot sits slightly above the iron sights’ plane.
Height: The red dot appears higher than the iron sights’ aiming point.
Pros: Enhanced sight picture and accommodates larger red dot sights.
Cons: Alters cheek weld and might need adjustment for new shooters.
3. Off-Set Co-Witness
Overview: A mounting scenario where the red dot sight is positioned at an angle from the iron sights.
Height: The red dot sits at a significant angle, typically 45 degrees, from the iron sights’ plane.
Pros: Offers versatility for quick transitions between primary optic and iron sights.
Cons: Requires adjustment in shooting technique for effective use.
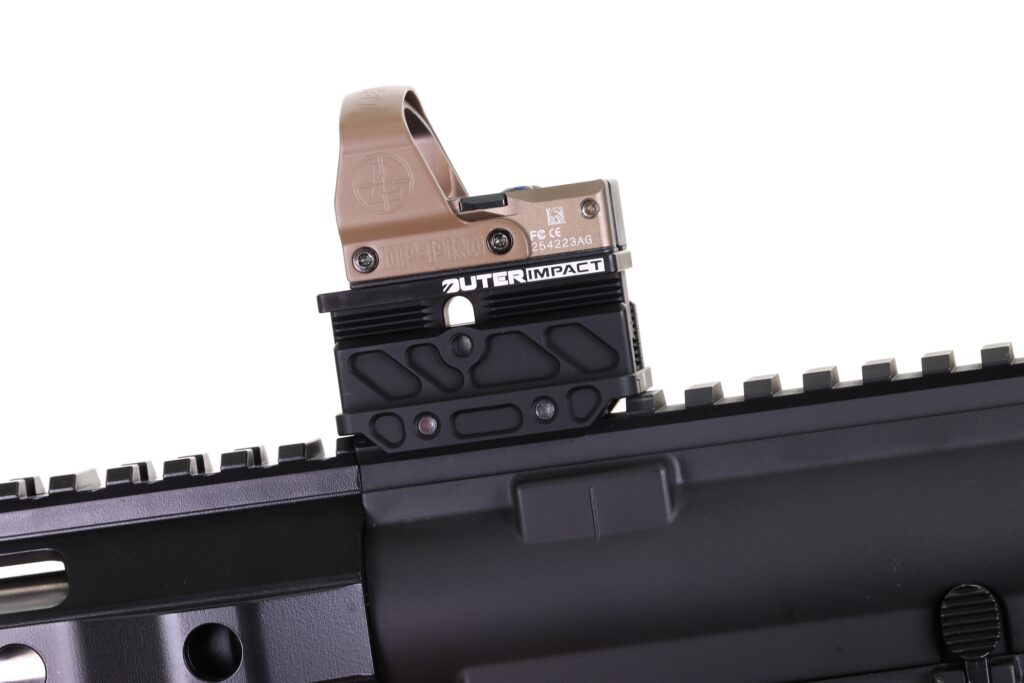
4. OuterImpact Adjustable Co-Witnessing Red Dot Mount
Overview: An adaptable mount offering multiple co-witnessing height options.
Customizability: Provides adjustable heights to achieve various co-witnessing setups.
Compatibility: Compatible with diverse red dot sight and iron sight combinations.
Versatility: Allows shooters to switch between different co-witnessing heights.
5. Conclusion: Choosing the Right Co-Witnessing Height
Different co-witnessing heights cater to various shooter preferences and shooting scenarios. Understanding these variations empowers shooters to select the optimal co-witnessing height, leveraging the adaptability and versatility offered by mounts like the OuterImpact adjustable co-witnessing red dot mount.
This guide explores the diverse co-witnessing heights available in red dot mounts and sights, emphasizing the adaptability of the OuterImpact adjustable co-witnessing red dot mount. Understanding these heights assists shooters in customizing their setup for enhanced aiming precision. You can read more of our red dot series here.