Your Simple Guide To Installing A Red Dot Mount On An AR-15
Introduction
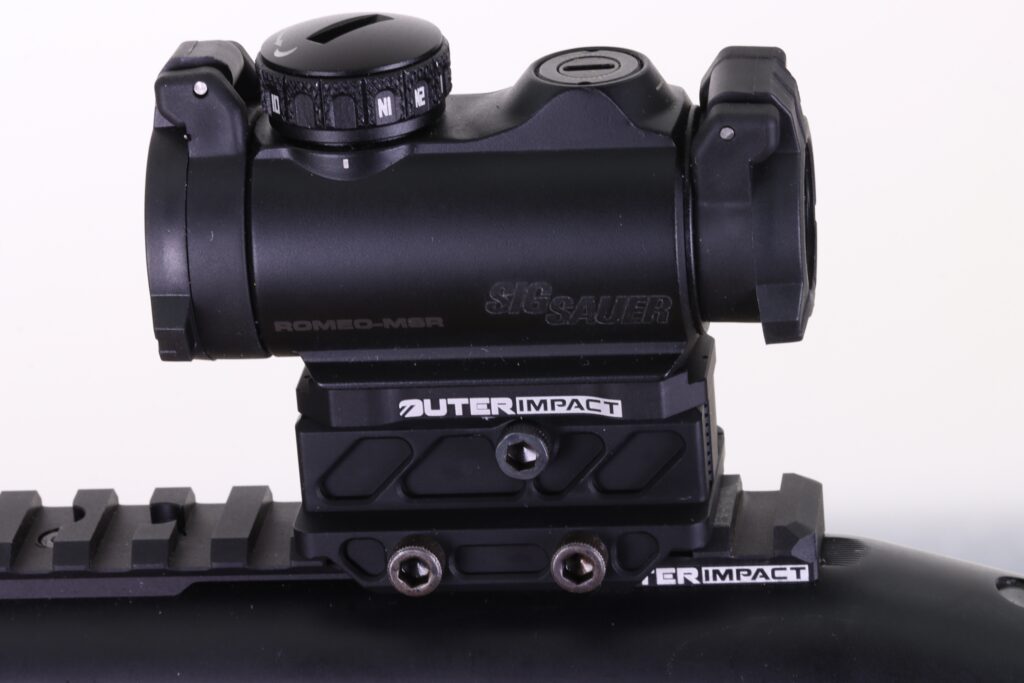
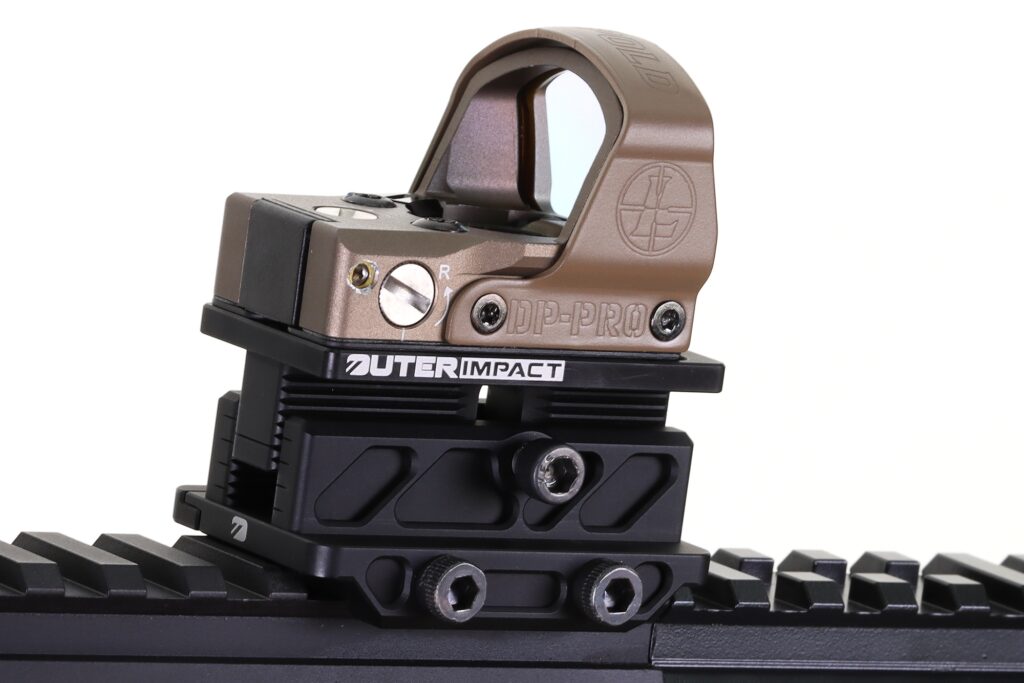
The AR-15 platform is highly versatile, and one of the most popular upgrades is adding a red dot sight. To optimize your AR-15’s performance, it’s essential to install the red dot mount correctly. In this step-by-step guide, we will walk you through the process of installing a red dot mount on your AR-15. Whether you’re a seasoned shooter or new to firearm customization, this guide will help you enhance your shooting accuracy and customization options. OuterImpact Modular Red Dot Adapter mounts are precision machined from aircraft grade billet aluminum as is the Adjustable Mount that allows you to choose your own level of co-witness. The Adjustable Mount was specifically designed for the AR platform but can be used on any Picatinny Rail.
Why Proper Installation Matters
Ensuring Accuracy and Stability
A properly installed red dot mount ensures the accuracy and stability of your red dot sight. A secure attachment is crucial for consistent and precise shooting.
Step 1: Gather Your Tools and Materials
Before you begin, make sure you have the following tools and materials:
- AR-15 rifle
- Red dot sight and mount
- Appropriate mounting screws
- Torque wrench
- Allen wrench, screwdriver, Torx wrench
- Loctite (optional, for added security)
Step 2: Clear Your Firearm
Safety is paramount. Ensure your firearm is unloaded and the chamber is clear before proceeding.
Step 3: Choose the Mount Type
Select the type of red dot mount that suits your shooting style and preferences. Common options include Picatinny mounts, M-Lok mounts, and quick-detach mounts.
Step 4: Prepare the Mount
If your red dot mount requires any specific preparations or adjustments, follow the manufacturer’s instructions. Some mounts may come pre-assembled, while others require additional setup.
Step 5: Attach the Mount to the AR-15
Here’s how to attach the red dot mount to your AR-15:
- Place the mount on the Picatinny rail or M-Lok rail of your AR-15, ensuring it is properly aligned with the rail slots.
- Insert the mounting screws into the holes provided on the mount. Make sure they are positioned correctly to secure the mount to the firearm.
- Use the appropriate tool, such as an Allen wrench or screwdriver, to tighten the screws snugly. Be cautious not to over-tighten, as this could damage the mount or strip the threads.
- If desired, apply a small amount of Loctite to the threads of the mounting screws for added security. Allow it to dry according to the manufacturer’s instructions.
Step 6: Install the Red Dot Sight
With the mount securely attached to your AR-15, it’s time to install the red dot sight:
- Place the red dot sight onto the mount, aligning the sight’s base with the slots on the mount.
- Insert the sight’s mounting screws into the corresponding holes on the sight’s base.
- Using the torque wrench, tighten the mounting screws to the manufacturer’s recommended torque specification. Be sure to follow the recommended torque settings to avoid damaging the sight.
Step 7: Verify Alignment and Zero
After installing the red dot sight, check the alignment and zero of the sight. Ensure that the red dot is centered and that it aligns with your iron sights if you have co-witnessed them.
Conclusion
Properly installing a red dot mount on your AR-15 is essential for achieving accuracy and stability in your shooting. By following this step-by-step guide, you can confidently install your red dot mount and enhance your firearm’s customization options. Whether you’re a competitive shooter, hunter, or enthusiast, accurate and reliable sight placement is crucial for success.
In our next articles within this series, we’ll explore other aspects of red dot mounts and provide practical insights to help you make the most of your red dot sight.
This comprehensive step-by-step guide has equipped you with the knowledge and confidence to install a red dot mount on your AR-15. Enhance your shooting accuracy and customization options by correctly mounting your red dot sight.