Troubleshooting Common Picatinny Rail Issues: A Quick And Comprehensive Guide
Introduction
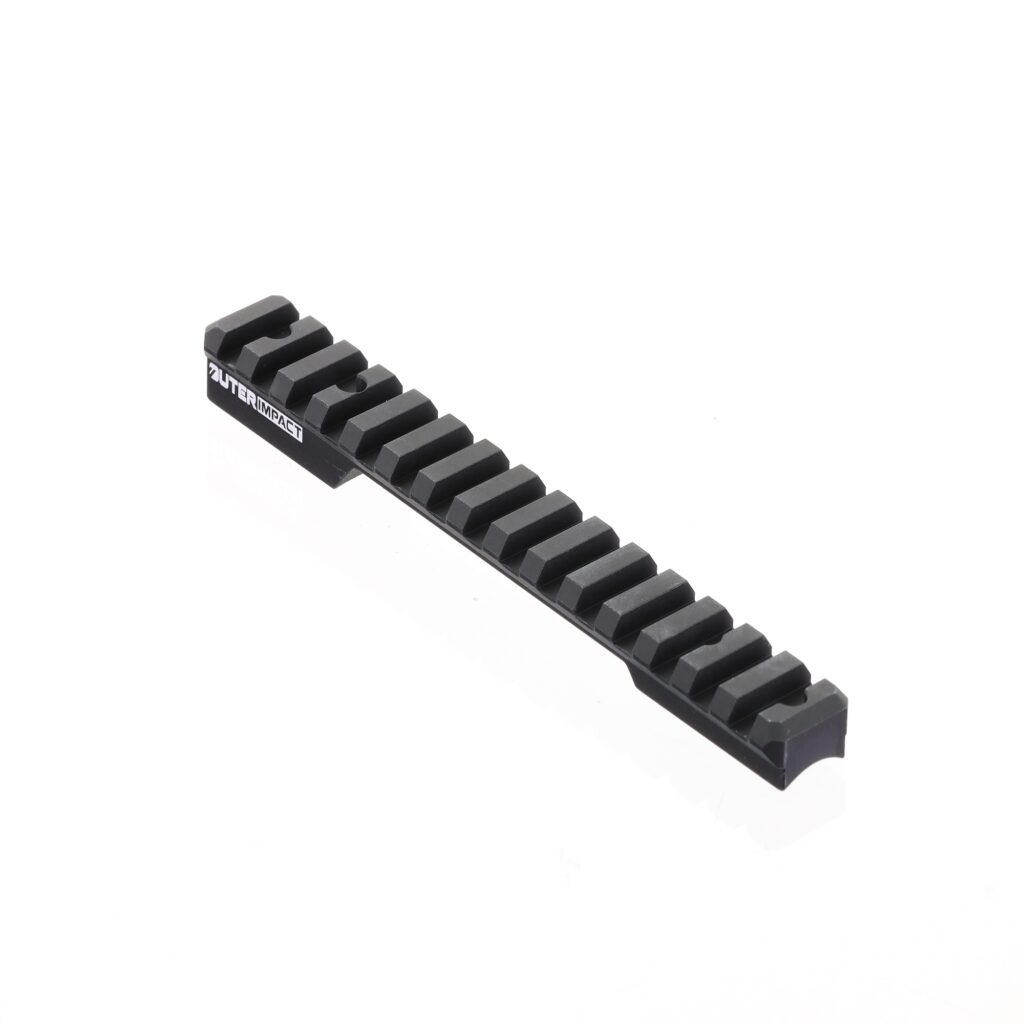
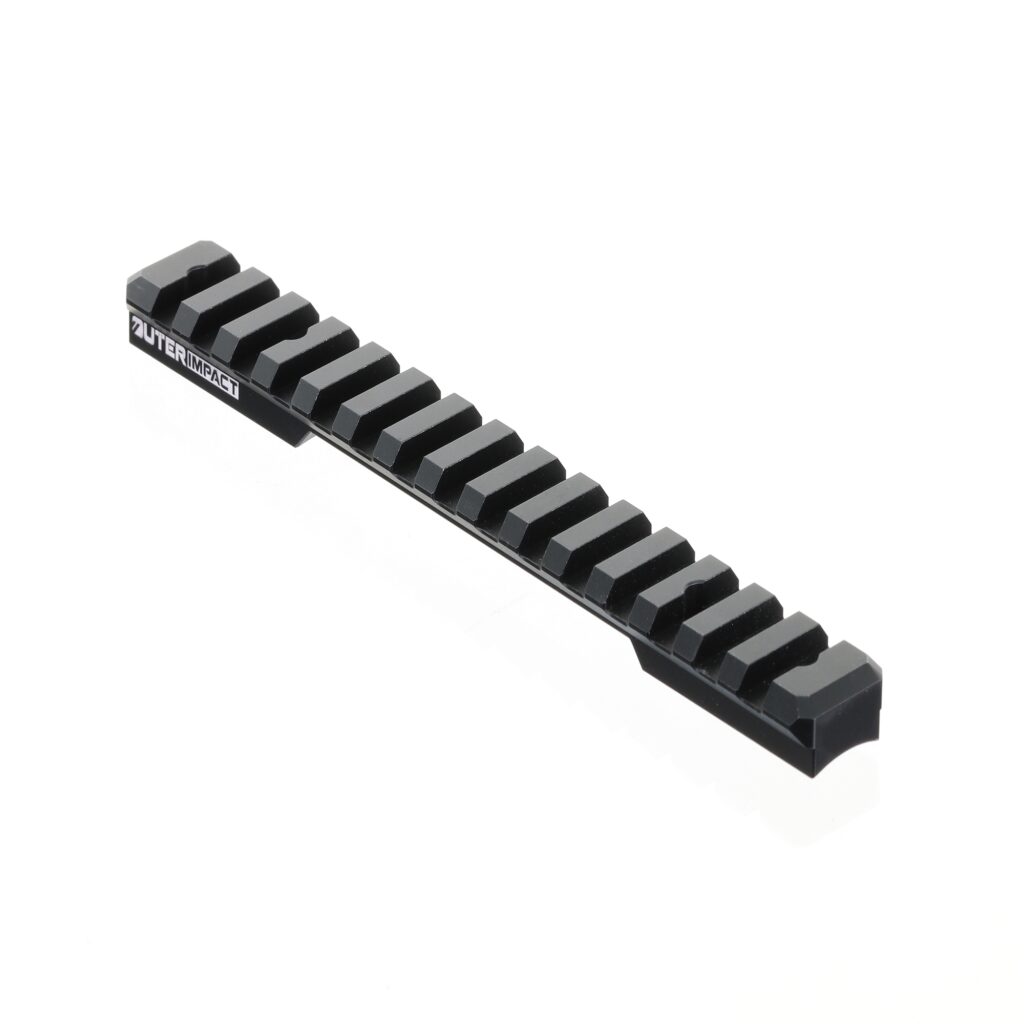
The Picatinny rail system is renowned for its versatility and reliability in attaching firearm accessories. However, like any component, Picatinny rails can encounter issues that affect your accessory’s performance. To maintain the functionality and safety of your firearm setup, you must be adept at troubleshooting common Picatinny rail problems. In this comprehensive guide, we will walk you through the process of identifying and resolving these issues, offering step-by-step instructions and expert tips to keep your firearm accessories securely mounted. All OuterImpact Picatinny Rails are precision machined from billet aluminum and must meet our strict quality control specifications.
Why Troubleshoot Your Picatinny Rail?
Before we delve into troubleshooting, let’s understand why it’s vital:
- Safety: Properly functioning Picatinny rails ensure that your accessories remain securely attached, preventing accidents.
- Functionality: Identifying and fixing issues keeps your firearm and accessories working as intended.
- Reliability: A well-maintained rail system enhances your firearm’s overall reliability, a crucial factor in self-defense and competitive shooting.
Now, let’s explore the step-by-step process:
Step 1: Gather Necessary Tools
Before you start troubleshooting, gather the following tools:
- Screwdrivers (flathead and Phillips)
- Allen wrenches
- Torque wrench (optional)
- Gun cleaner
- Replacement parts (if needed)
Step 2: Ensure Safety
Always treat firearms with the utmost care. Ensure your firearm is unloaded and the chamber is clear. Follow all firearm safety protocols and keep the muzzle pointed in a safe direction.
Step 3: Identify the Problem
Common Picatinny Rail Issues:
- Loose Accessories: Accessories may become loose over time or due to recoil.
- Misalignment: Accessories may not be properly aligned with the rail slots.
- Rail Damage: Rails may have dents, scratches, or obstructions.
Step 4: Loose Accessories
Fixing Loose Accessories:
- Carefully remove the loose accessory from the rail.
- Inspect the accessory’s mounting mechanism for damage or wear.
- Ensure that screws or fasteners are tightened to the manufacturer’s specifications.
- Apply a thread locker to prevent future loosening.
Step 5: Misalignment
Fixing Misalignment:
- Remove the misaligned accessory from the rail.
- Examine the accessory’s mounting interface for damage or defects.
- Reattach the accessory, ensuring it aligns correctly with the rail slots.
Step 6: Rail Damage
Fixing Rail Damage:
- Examine the rail for any dents, scratches, or obstructions.
- If possible, gently file away minor imperfections.
- If damage is severe, consult a professional gunsmith for assessment and repair.
Step 7: Test and Confirm
After addressing the identified problem, test the accessory’s fit and function on the Picatinny rail. Ensure it is securely attached and properly aligned.
Conclusion
Troubleshooting common Picatinny rail issues is a crucial skill for firearm enthusiasts and shooters. With this comprehensive guide, you can confidently identify and resolve issues that may affect the performance and safety of your firearm accessories. Whether you use Picatinny rails for optics, grips, or other attachments, knowing how to keep them in optimal condition ensures reliability when you need it most.
In our next articles within this series, we’ll explore more aspects of firearm maintenance and provide further guidance to help you maintain your firearm accessories and Picatinny rails.