The Best Ways To Measure Snowmobile Handlebar Height
Introduction
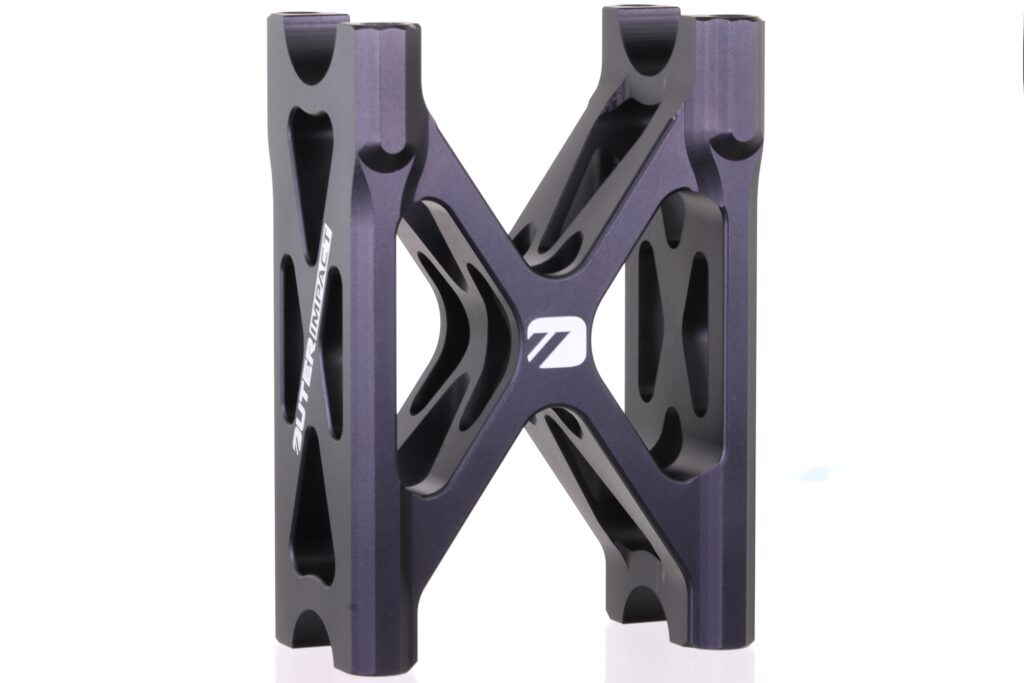
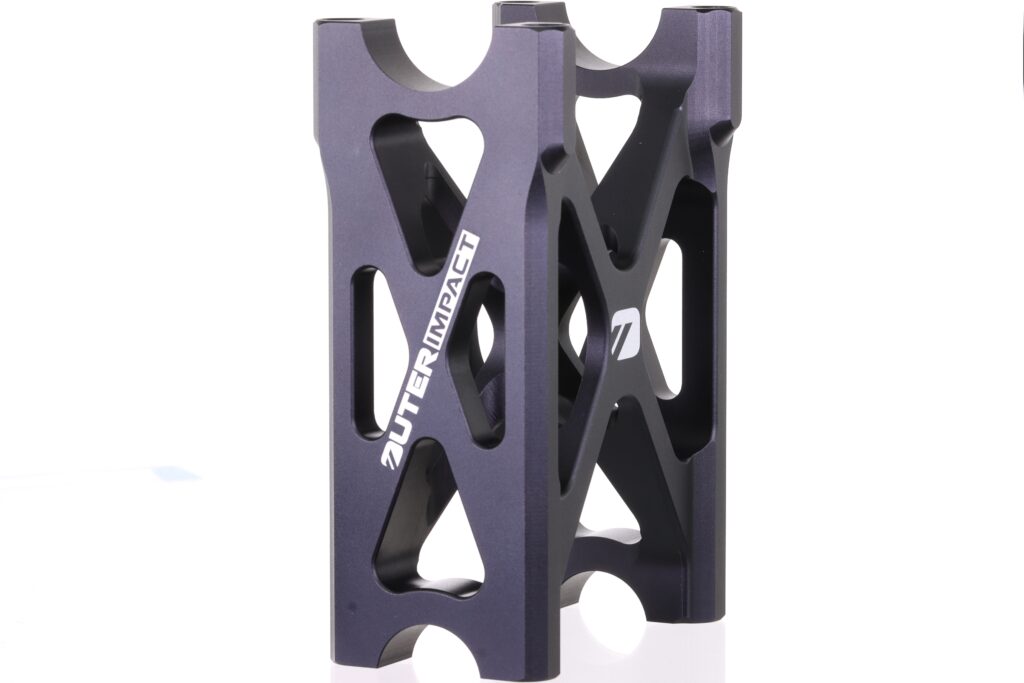
Achieving the perfect handlebar height on your snowmobile is crucial for comfort, control, and a safe riding experience. Whether you’re setting up a new sled or making adjustments to an existing one, knowing how to measure handlebar height accurately is essential. In this comprehensive guide, we will walk you through the step-by-step process of measuring snowmobile handlebar height to ensure a customized and comfortable ride. OuterImpact brake levers and risers are factory replacements made from billet 6061 aluminum, precision machined, designed for short pull, reduced weight, and increased strength. All backed by a Lifetime Warranty.
Tools and Materials You’ll Need
Before you begin, gather the following tools and materials:
- A tape measure or ruler
- A level
- A marker or a piece of tape
- A friend or a stand (optional, for stability)
Step 1: Park Your Snowmobile on a Flat Surface
For accurate measurements, ensure your snowmobile is on a level and stable surface. You can park it on a trailer or use a stand to keep it steady.
Step 2: Sit on Your Snowmobile
Get on your snowmobile in your riding gear, including your boots and gloves. Assume your typical riding position, with your feet on the running boards and your hands on the handlebars.
Step 3: Find Your Neutral Riding Position
In your riding position, your arms should be relaxed and slightly bent at the elbows. Your wrists should be straight, not bent upward or downward. This is your neutral riding position, and it’s where you want your handlebars to be.
Step 4: Measure Handlebar Height
Here’s how to measure the handlebar height accurately:
4.1 Place the Level
With the help of a friend or a stand, hold the level against the handlebars. Ensure the level is parallel to the ground.
4.2 Measure from the Ground
While keeping the level steady, measure the distance from the ground to the highest point of the handlebars. This point is usually the center of the handlebar, where the handlebar pad or grip is located.
4.3 Mark the Measurement
Use a marker or a piece of tape to mark the measured height on the handlebars. This mark represents your ideal handlebar height.
Step 5: Make Adjustments (if necessary)
If the measured height does not match your desired handlebar height, you may need to make adjustments. Snowmobiles typically have adjustable handlebar risers or mounts. You can lower or raise the handlebars to align with your marked measurement.
Step 6: Test Ride and Fine-Tune
After making adjustments, take your snowmobile for a test ride. Pay attention to your comfort level, control, and handling. If needed, make further adjustments to achieve the perfect handlebar height that suits your riding style.
Conclusion
Measuring snowmobile handlebar height is a straightforward process, but it plays a crucial role in your overall riding experience. By following this step-by-step guide, you can ensure that your handlebars are set to the perfect height for comfort and control, allowing you to enjoy your snowmobiling adventures to the fullest.
Remember, a comfortable handlebar height reduces rider fatigue and enhances safety, making your snowmobile rides more enjoyable.
We hope this guide helps you measure and adjust your snowmobile’s handlebar height for a comfortable and customized riding experience. Proper handlebar height is essential for control and comfort, allowing you to confidently go forth and ensure your snowmobiling adventures are safe and enjoyable.